Here are general tips for playing the Chaos Champaign in Warhammer: Mark of Chaos on HARD Difficulty. A list of all our Warhammer: Mark of Chaos articles can be found here.
We won't be hand-holding you through absolutely everything, but instead just give tips on situations that we found tricky or that you might not have considered.
Chapter 1: The Will of the Gods
Mission 4: Fortress of the Gods
Overall Strategy
We won't be hand-holding you through absolutely everything, but instead just give tips on situations that we found tricky or that you might not have considered.
Chapter 1: The Will of the Gods
Mission 4: Fortress of the Gods
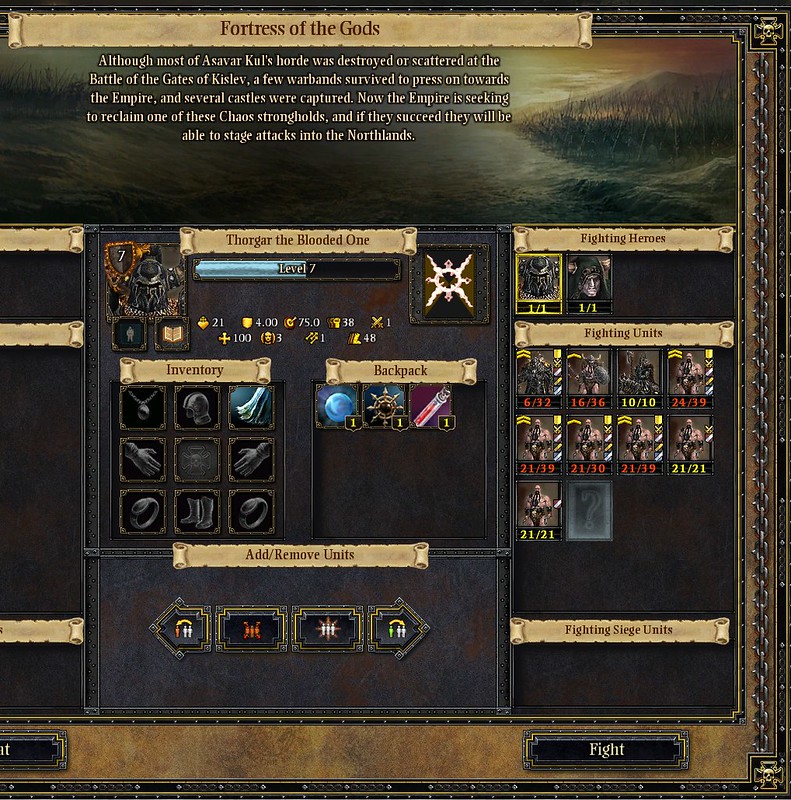
- You can bring ten regiments into this mission, although affording all ten regiments can be hard if you want upgraded regiments as well, and especially if you blew a lot of cash earlier on regiments, reinforcing regiments, and unit upgrades. It's time to spend some money since on Hard, the regiments you have been using probably won't be enough. You can't bring all your regiments on every mission, so think carefully about what you want as "excess regiments". I recommend you choose a core strike force of one strong melee regiment and have Axe Throwers for the rest.
- Choose Axe Throwers as your excess because they are basically your only ranged unit, and you can get them into combat with less traffic jams than melee regiments. If you're tight on cash, upgrade weapons on all regiments and upgrade armor only on the Sorcerer's "bodyguard" unit and have that unit up front whenever you can to draw fire.
- If you're playing on Hard, I suspect a smaller but more armored force is better than a very large force because of traffic jams.
- Limit your Knights Undivided.
- You can't resurrect them in the field without an expendable magic item.
- You don't want too many Knights because Axe Throwers will form the core of your army and Axe Throwers never become obsolete. Unlike melee regiments, every model in a ranged unit gets to attack. For melee regiments, only the models that are in contact get to attack.
- They are, however, good for sheer mobility and doing "fire brigade" (moving regiments to shore up whatever battlefront needs help). Almost no mission needs that sort of urgency, however.
- If you do want Knights, their stats are the same as the Knights of Khorne, and superior to those of the Knights of Nurgle, so it's fine to get and fully upgrade them. You will want to fully upgrade them because they are fewer in models compared to other regiments and maximum offense and defense means more survivability against weaker regiments that have vast numbers.
- If you need to change your army but are out of cash, and don't want to roll back all the way to the start, use the money cheat.
- Thanks to the Flame of the Gods, you can end this mission with more troops than you started with.
- The large crosshairs on enemy regiments indicates that they are targeted by one of your Hellcannons. The colour ranges from light yellow toward amber and red. This progression indicates how ready the cannon is to firing, with red being "almost ready". Green means ready and the cannon will fire. You can see the same colour in a progress bar on the cannons.
- Enemies on the towers can be targeted with spells, but the targeting recticle is always on the ground. Because they are elevated, they cannot be hit by the Axe of Doom and area spells. Only spells that target a specific model or regiment (by clicking on the regiment flag) can hit targets on battlements.
- There seems to be one enemy cannon that is occasionally bugged and cannot be targeted. This is the one that ends up sitting around the middle of the battlefield, slightly to the right of centre. You could try moving a unit over and leaving it on Stand Ground OFF (i.e., automatically select and attack nearby targets).
- Do NOT duel any enemy heroes until you mouse over them and look at their HP. Some have retarded amounts, some suddenly have huge Health once they enter a duel (a priest jumped from 5 (was hurt in combat) to 48/48 once he entered a duel with Thorgar!). Not clear why. It's possible they are scripted to use potions.
- We found this to be the best non-exploit strategy.
- At the start, split your forces into fire brigades:
- (Sorcerer + Axe Thrower)
- Other Axe Throwers
- Knights if you have them
- Thorgar was not attached and inside the fortress, and with Stand Ground OFF, but we kept an eye on his health.
- He is not mounted and cannot be attached to the Knights.
- When attached to Axe Throwers, he is idle as he has only the Axe of Doom as a ranged attack, but that has friendly fire and high mana cost which competes with the Sorcerer using Steal Soul and Wind of Death.
- The enemy has timed regiment movements, and if you don't repel or destroy regiments quickly enough, you'll start to get swarmed on multiple fronts.
- We sent the Knights and the Sorcerer out while the other regiments (they were not full regiments after the last mission) sat at the Flame of the Gods to fill up their numbers.
- After an initial skirmish where the Sorcerer's unit got blown up a lot, we pulled back to the fortress and turtled until we won by time-out. As the enemy got closer, we got everyone near the Flame. No Axe Throwers on the walls because it would have taken too long to pull them out and they could get isolated and destroyed. Instead we massed them and directed them together to destroy one regiment at a time.
- You will do quite well if you manually turn off the cannons or try to retarget them, but this additional level of management could cost you if it distracts you too much from an active combat situation. Also, Soon the enemy will swarm you and you will probably want those cannons to just auto-select targets and you retreat into the Fortress.
- After this mission, stop spending cash. The final two missions will not require you to use your own army, so wait a while and see what shows up in Chapter 2 stores (like a horse for Thorgar, which costs 500 gold).
- On Normal Difficulty, it's better not to turtle inside the fortress. You can intercept just about everything and still have time left over in the mission where there is nothing left to come at you. The Sorcerer needs to heal regiments as he goes along, but otherwise, the AI does not have very strong forces.
- On Hard, you can't do this because it takes too long to kill a unit and in the meantime your own cannon will blow you up.
- If you move ahead too far to the cannons not yet deployed, they will start firing at you. To keep them occupied, send Thorgar ALONE. The cannon should start firing at him when he's closer, but since he's just one model and constantly moving, it shouldn't hit him too often, if at all. Once a cannon is tied up in melee, it will not fire anymore.
- You CAN be Aggressive and avoid your own cannons by basically hitting undeployed regiments beyond cannon range in what is initially the fog of war.
- The reason you are not overwhelmed by the enemy's superior numbers and veteran regiments (all; level 2, and a level 5 priest hero can have 48 HP) is because all melee regiments are on Stand Ground until scripted to move. This is why this method is an EXPLOIT--You can have a regiment in almost melee range and they won't budge until you engage them in melee.
- That said, if you get caught by a regiment that starts to move while you are busy with another one, you CAN be overwhelmed. Be careful.
- We started from the northwest and moved eastward carefully. After the northwest cannon, you might want to move southwest to attack any enemy regiments in the field (such as cannons).
- Melee regiments will stand idle while you shoot them to death, unless they are already on the move.
- Ranged regiments also Stand Ground, but they will fire at you as soon as you are in range. Just return fire with ranged combat and spells. Since they're attacking you, send in Thorgar to stop them firing, unless you need Thorgar to tie up a cannon.
- A cannon guarded by Knights or other regiments right next to it (that haven't yet received move orders) can still be attacked in melee without pulling the supporting units as long as you don't touch the supporting regiments.
- We started with four Axe Thrower regiments, and two Knight regiments (same as in all walkthrough for this mission).
- Two Axe Thrower regiments were the roving strike force along with both heroes.
- One regiment of Axe Throwers were put in each of the front archer towers nearest the gate. They have cannons on top. Select a unit, then hover your mouse over the cannon until it turns into a door, and right click. That will protect them from enemy fire and also allow them to throw axes down at nearby enemies.
- The Knights were used aggressively (even if blown up by our own cannons) to try to get them at least one level and then use the Flame of the Gods to bolster their numbers.
- We left them near the gate to intercept enemies that survive the bombardment or to intercept enemies that won't move closer. They'll probably get blown up a bit, so pull them back to the Flame of the Gods.
- Just one level of experience is good enough. After that, focus on getting free Knights. There isn't a lot of time to fill up their numbers because the Flame of the Gods gets drained very quickly.
- Don't worry about cannons tearing down your walls -- worry about regiments walking into the courtyard and heading to capture the Flame of the Gods (which will make you lose the mission). Handle them with your Knights.
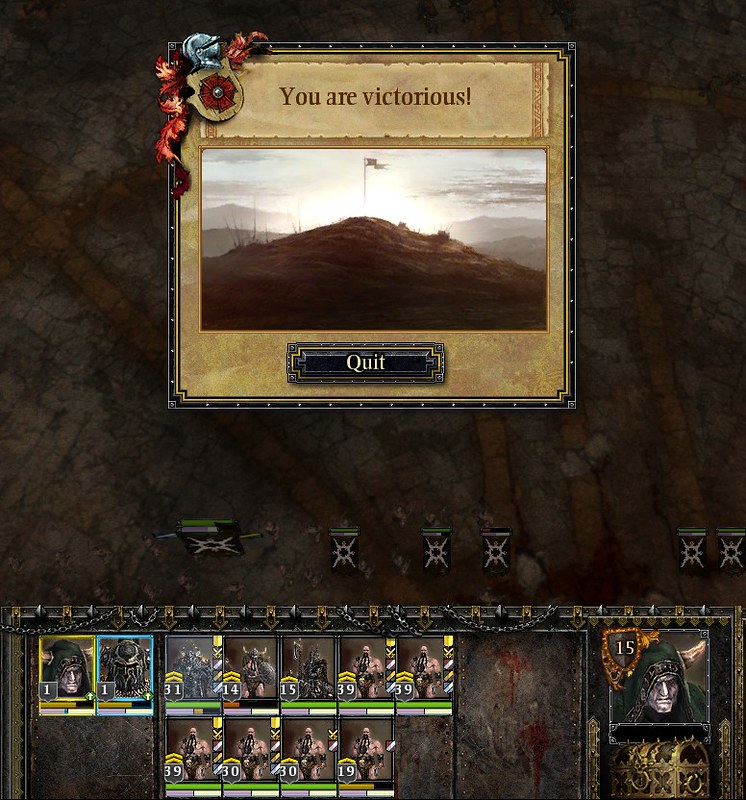
- With this strategy, we cleared just about every enemy unit except broken morale stragglers and a few that we couldn't kill before the time limit ran out.
It's so nice tips and information sharing about how to play Chaos Champaig game. So it's very helpful for those who wanna to know about chaos champaign game.
ReplyDeleteFriv